TrueStitch turns any product in your Shopify store into a personalized embroidery product. This guide takes you from installation to a working live preview on your first product.
Requirements
- A Shopify store with at least one product you want to embroider.
- An embroidery machine and the hoops you actually own — you'll enter their sizes in millimeters during setup.
Install the app
- Open the TrueStitch install link and approve the requested permissions.
- After installation, TrueStitch appears in your Shopify admin under Apps. Everything is managed there — your customers never leave your storefront.
Enable embroidery on a product
- In TrueStitch, open Products. You'll see the products from your store.
- Pick a product and switch on Enable embroidery.
- TrueStitch sets the product up automatically: it assigns your first hoop, loads the product's main photo and creates Zone 1 — a starting embroidery area in the middle of the photo.
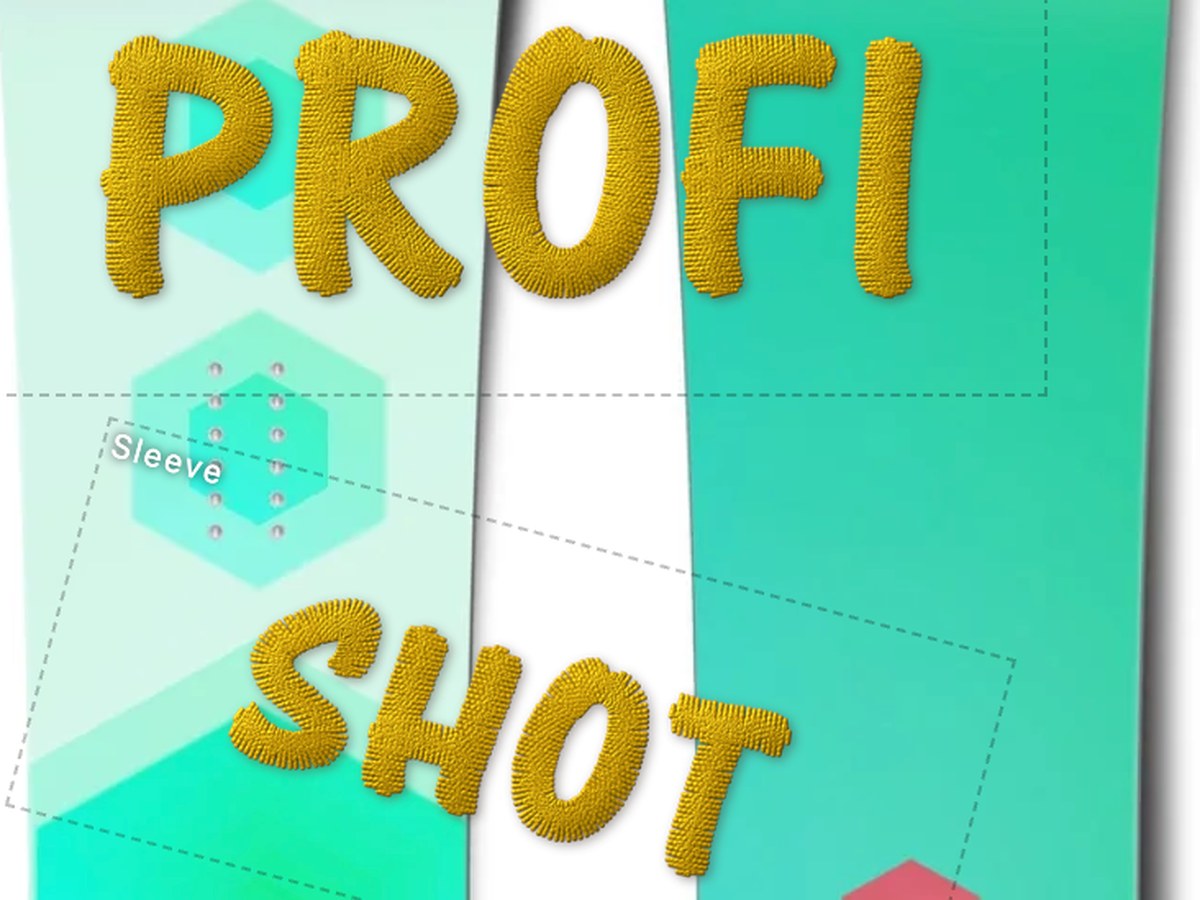
Add the widget to your storefront
In your Shopify admin, open Online Store → Themes → Customize, go to a product page template and add the Embroidery app block. The personalization widget appears on every embroidery-enabled product.
What's next
- Calibrate hoops and zones so previews match real-world millimeters.
- Set up fonts and thread colors your customers can choose from.